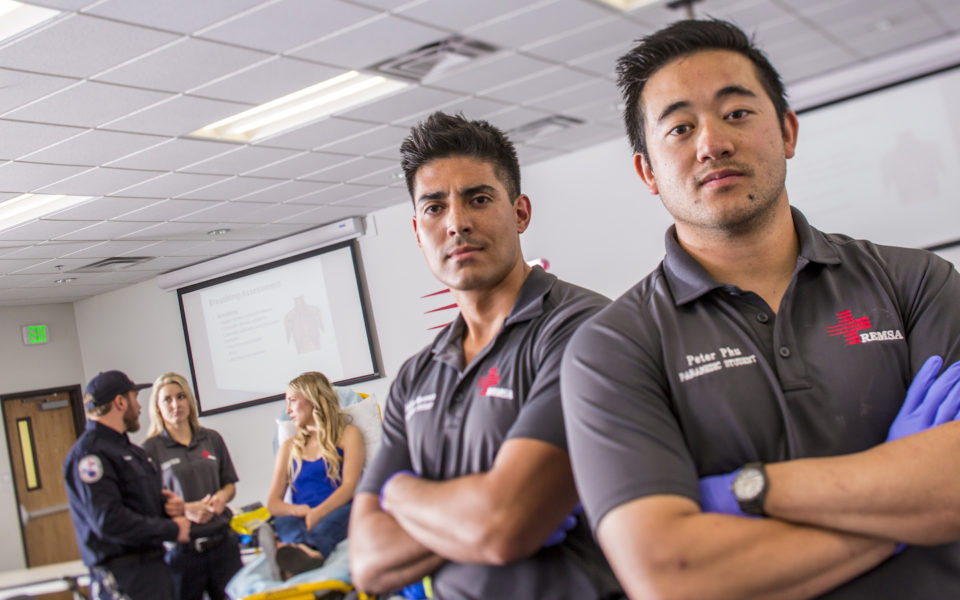
Customized Classes & a Commitment to Success

REMSA Education believes uncompromising standards benefit the clinician and more importantly, the patient. Our commitment to success of the individuals is a primary focus of our organization. Vast resources enable REMSA Education to provide lifesaving educational opportunities from babysitting courses to a full accredited Paramedic program.
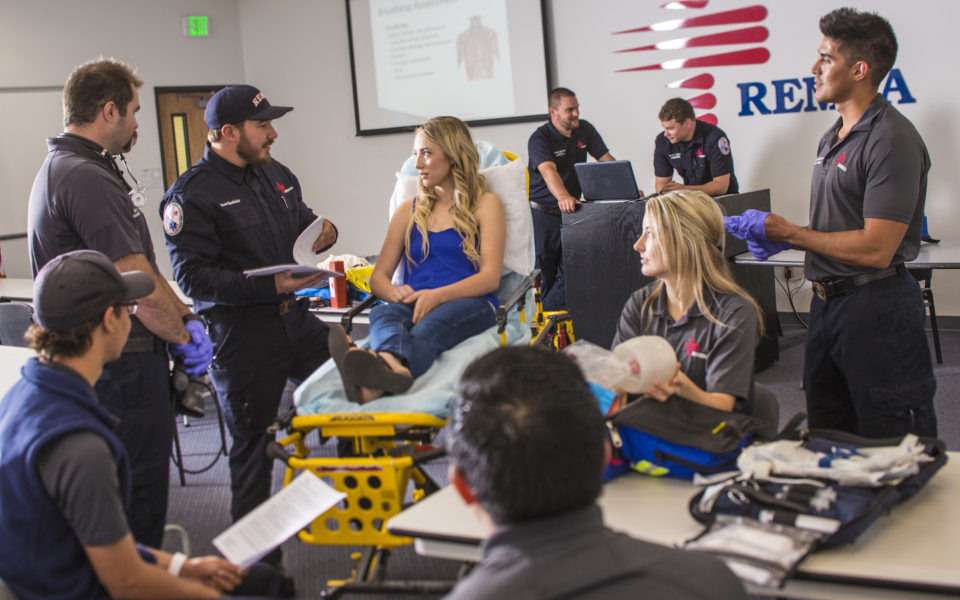
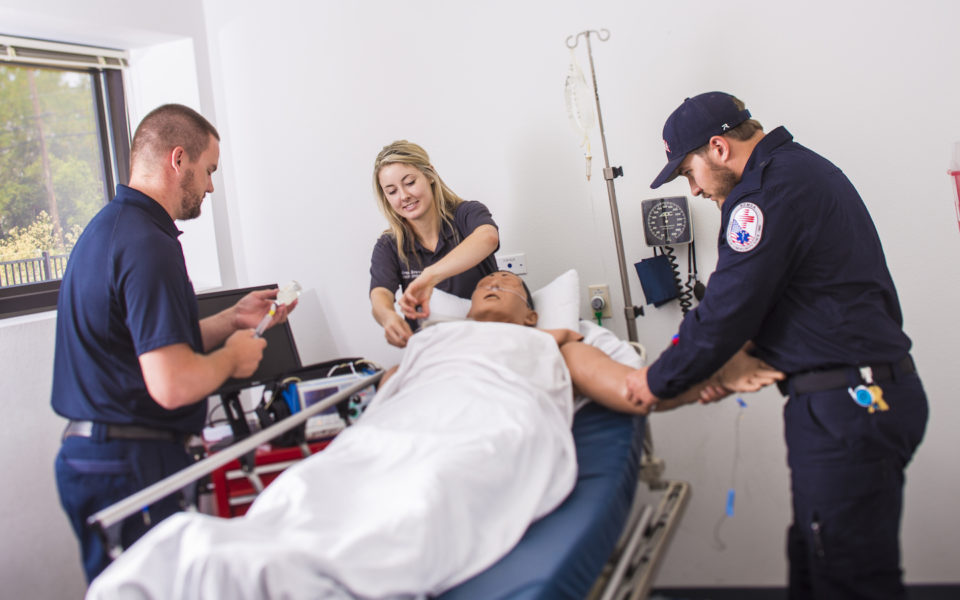
Our staff of experienced clinicians and educators ensure that courses are relevant and taught using the latest research and current standards ensuring students are prepared for certification exams and to respond when it matters most.
REMSA offers a private, licensed, post-secondary education center with an accredited paramedic program. Emergency Medical Technician (EMT), Advanced Emergency Medical Technician (AEMT), and Paramedic courses are available throughout the year. In addition, refresher courses are offered for all of the EMS disciplines.